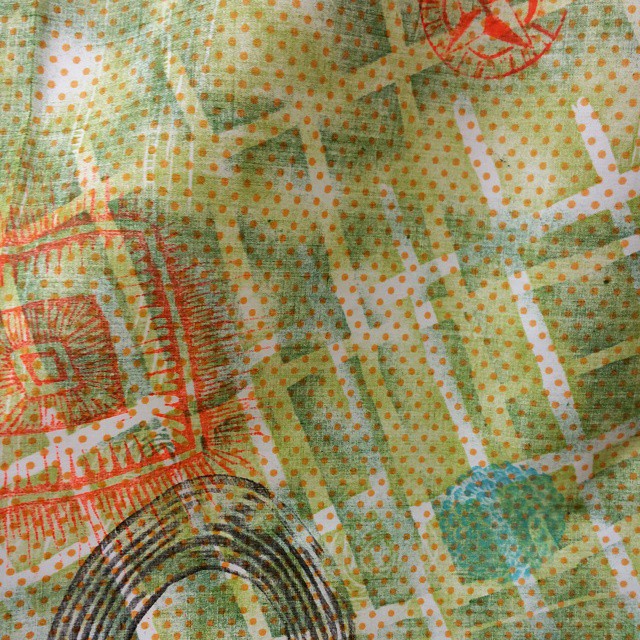
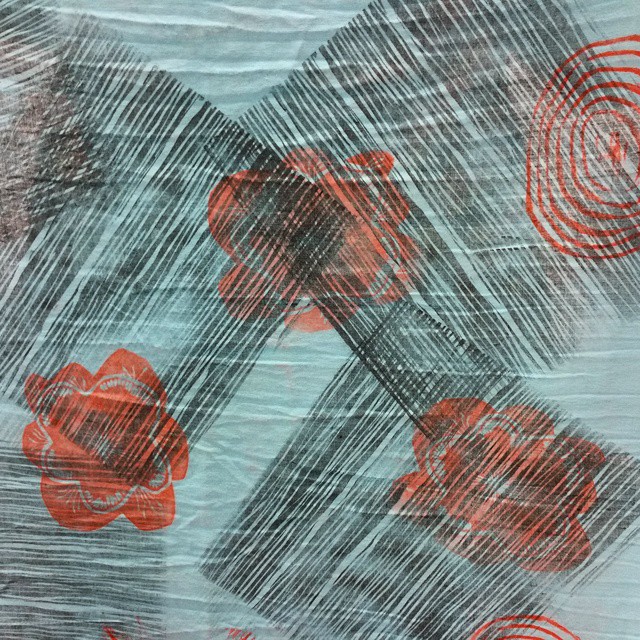
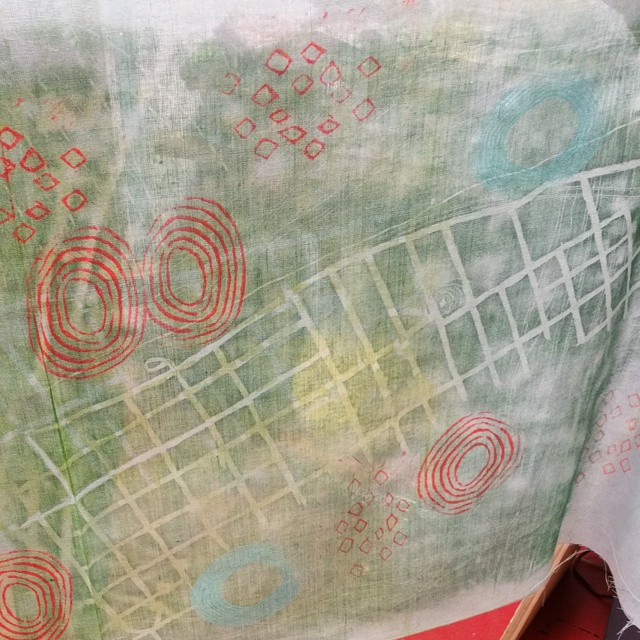
Here are some of the fun fabric prints our Wednesday students made. They chose an image from our woodblock library to use as a background (a street map of the Walkerville neighbourhood, printed in green), then they dressed those up with a variety of small wood and lino blocks and rubber stamps. They really got creative and made some amazing prints!
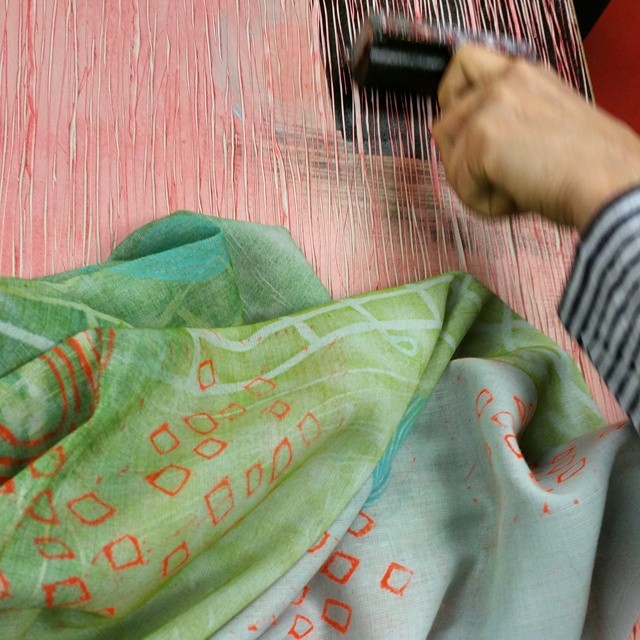
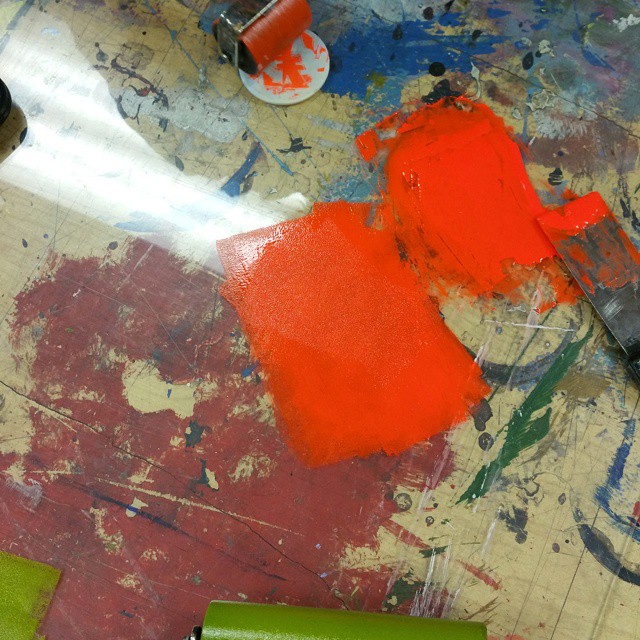
Yes, there’s that Day-Glo orange again. We love that colour here at Levigator Press.
There was a lot of interest in this class so for those of you who missed it, we’ll be running it again on Monday, June 8. Stay tuned, or call the shop now to register!
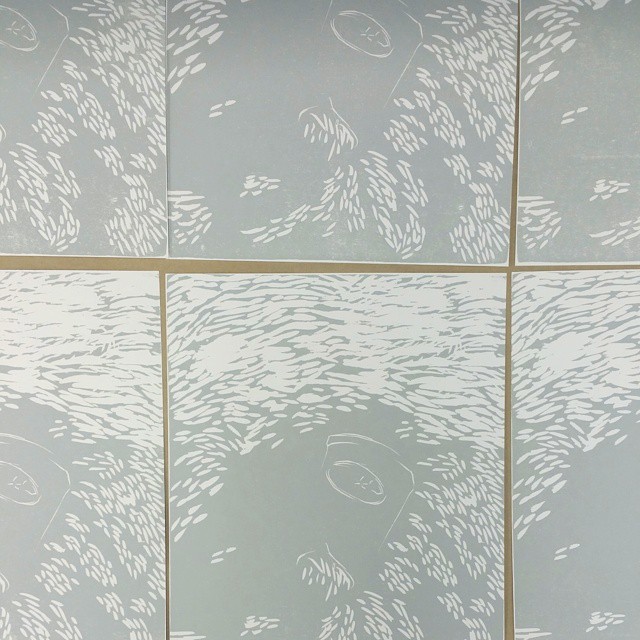
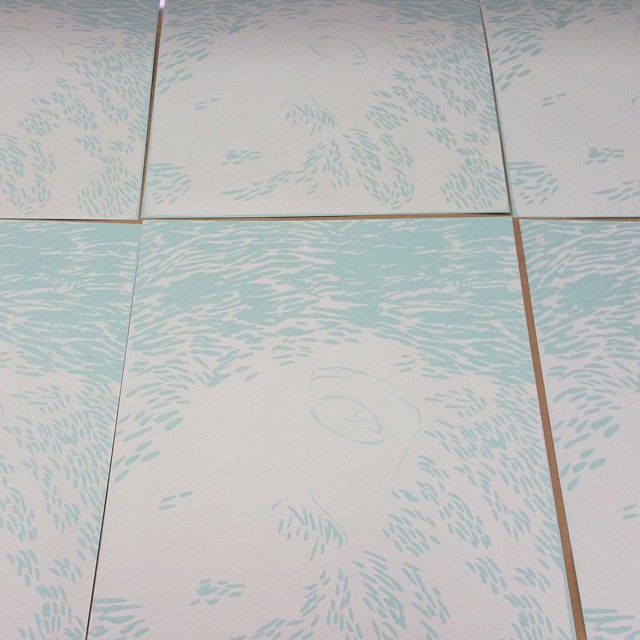
This is a sample print to help in explaining the reductive woodcut process to students. I’m making two different editions, and will keep a print of each successive run aside to show the progression. Here’s the first run, in gray ink on white paper, and white ink on blue:
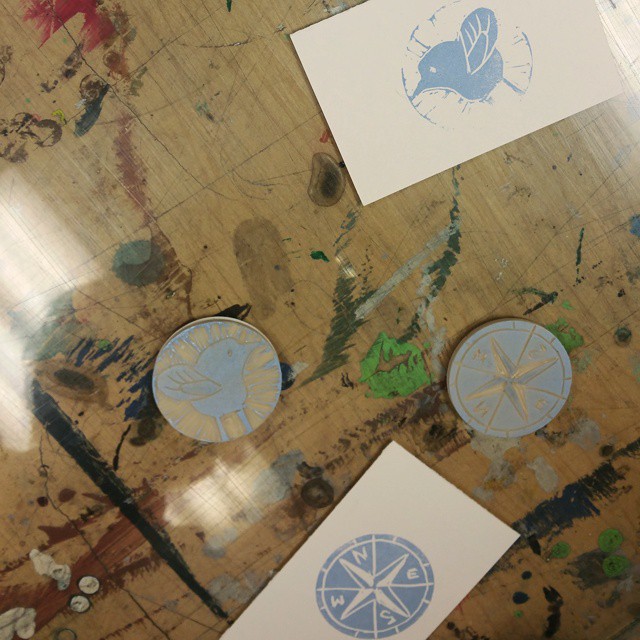
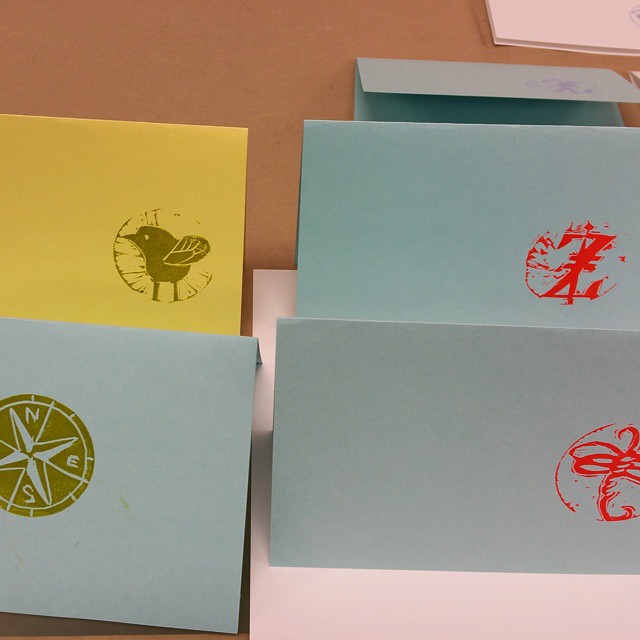
Our Wednesday night workshop participants had loads of fun carving their rubber stamps and printing them on some colourful French Paper cards and envelopes. We broke into that special can of orange Day-Glo ink again because you just cannot go wrong with that glorious colour. Check it out:
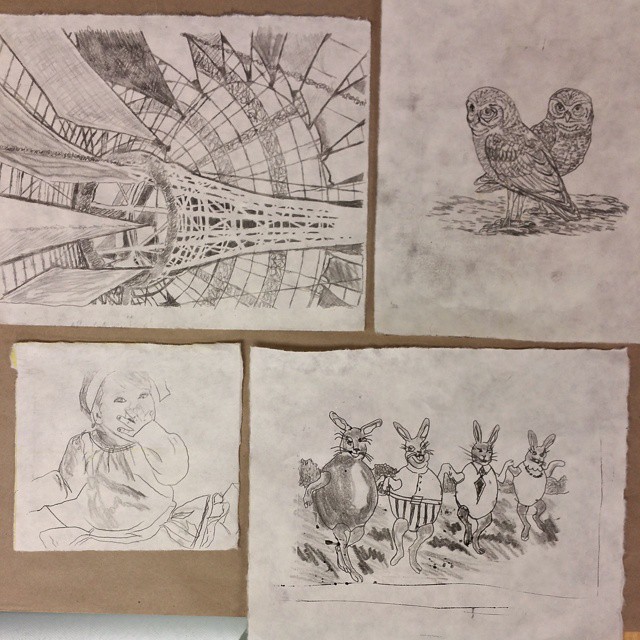
Student prints from Monday night’s trace monotype class:
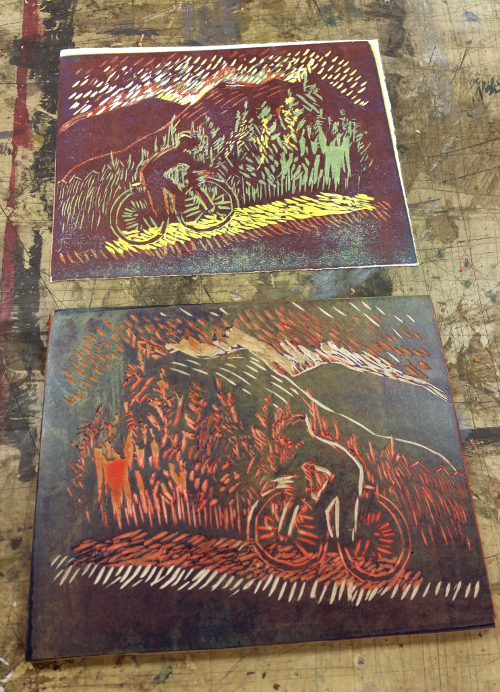
Two more colours carved and printed, and these student prints are all finished. And they look amazing!
Printing the third colour, an orange-leaning red:
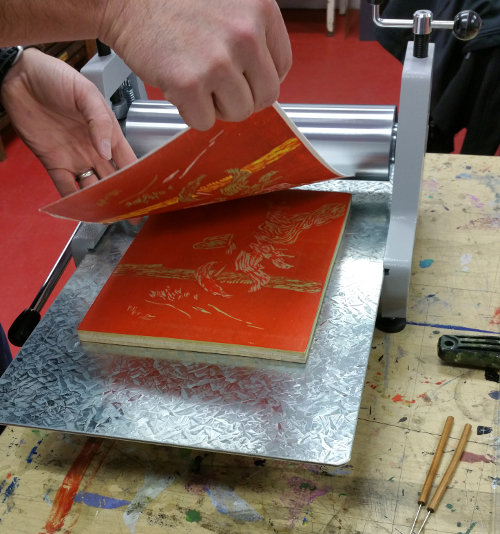
Printing the final colour, a gorgeous deep blue:

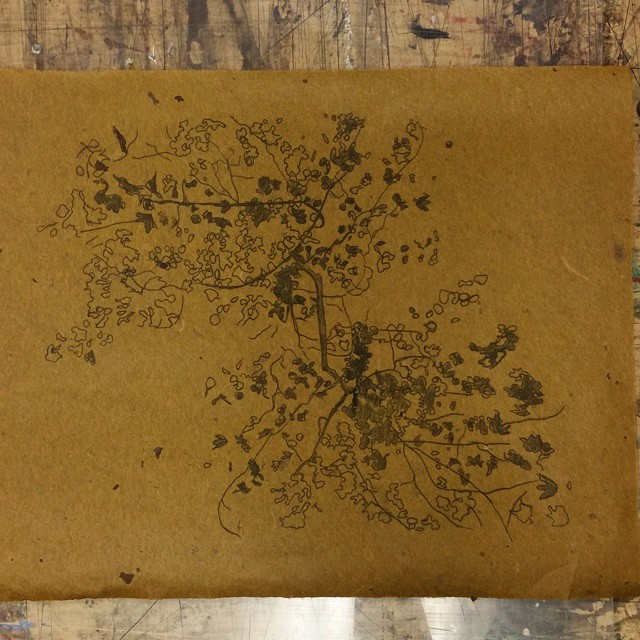
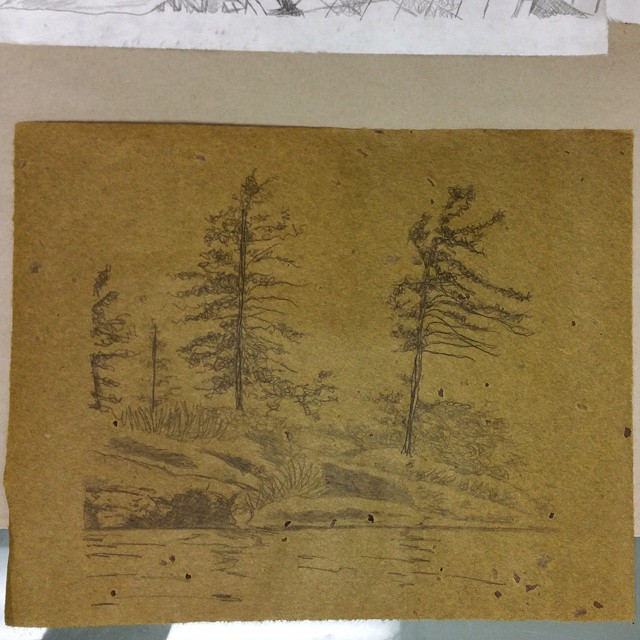
Final pull on the tree print:

The cyclist print with its block:
Just in time for those last excruciating few weeks of not-yet-spring: we have these delightful truffula trees from Mercantile 519 to brighten up your home while you yearn for this winter to finally, finally end.
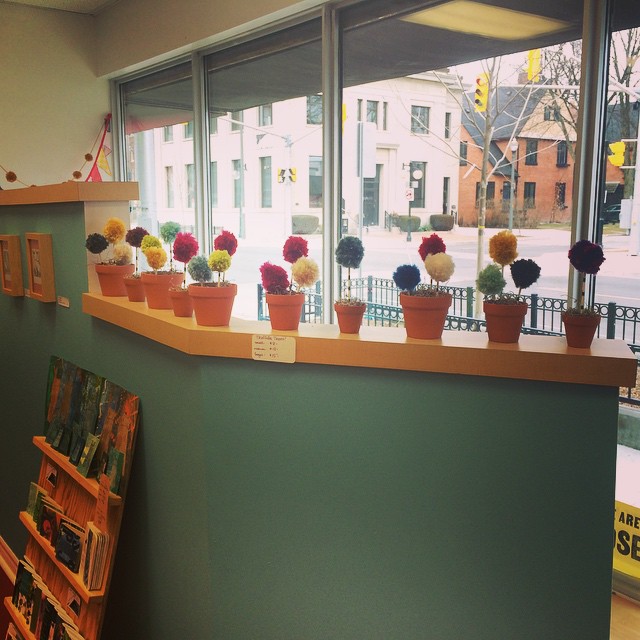
(photo credit: Nicole Drouillard)
Carving the first colour for a reductive woodcut:
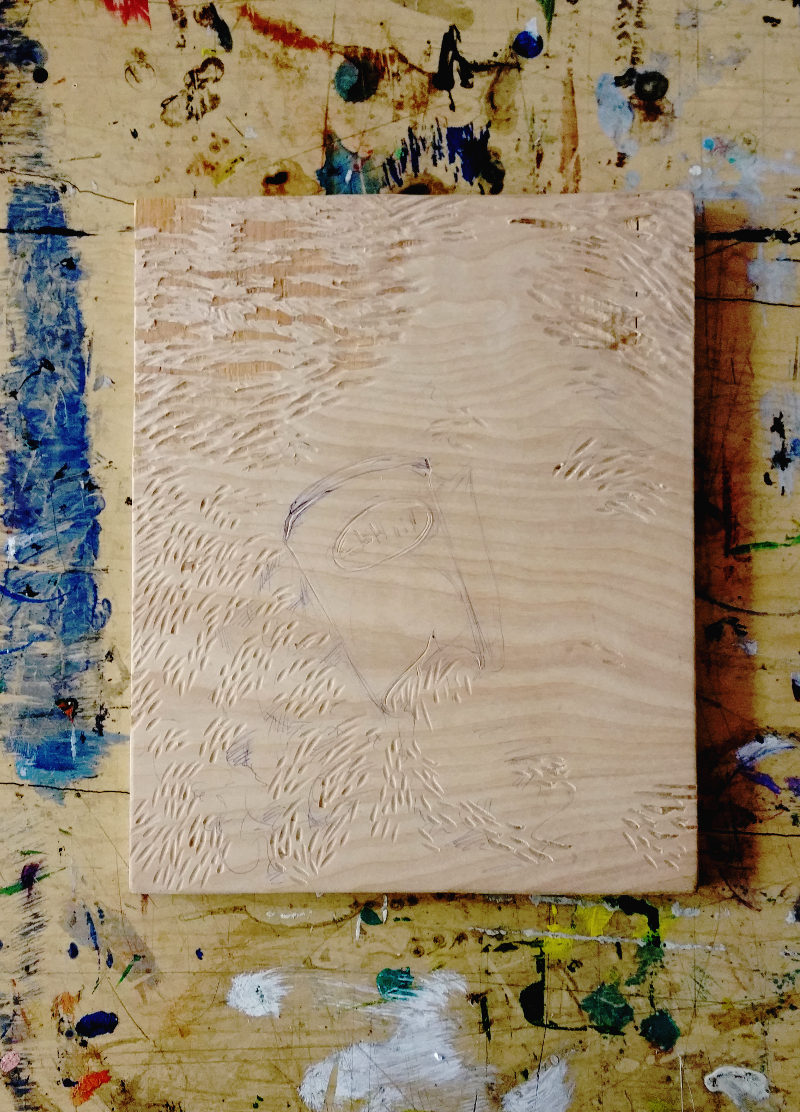
I realized while teaching the reductive woodcut class that I don’t have a sample printed in stages that I can show, which would help people grasp the concept of working in reductive layers. So I started this block with an image of a Tim Hortons cup abandoned in ploughed-up roadside snow. The parts that are carved out now are what will remain white in the final print.
The colour progress will probably be as follows:
-pale gray
-pale blue
-darker gray
-yellow (just in the cup and a few highlights on the snow)
-red
-brown
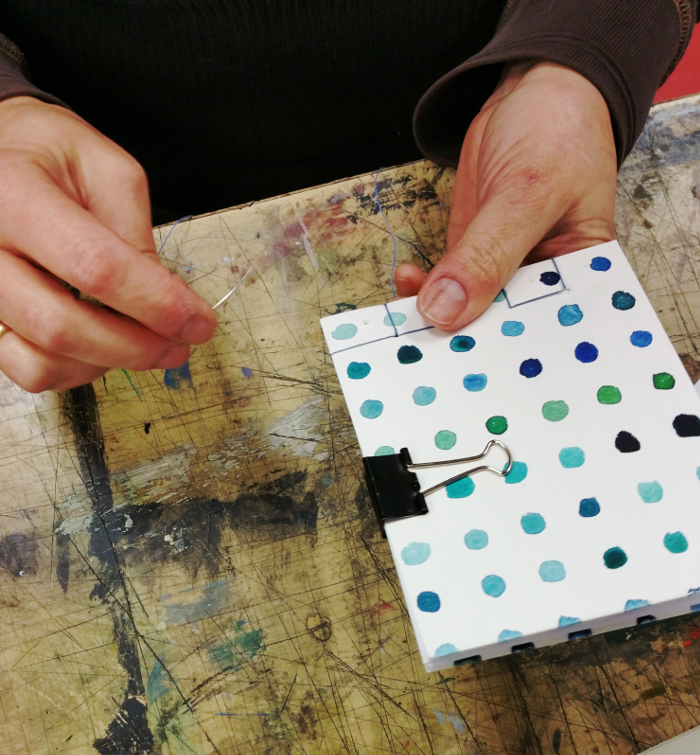
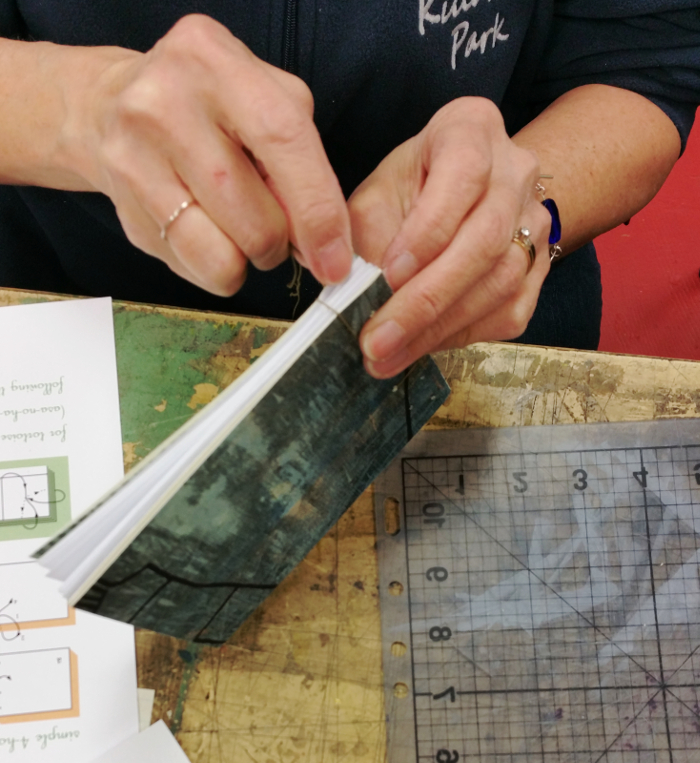
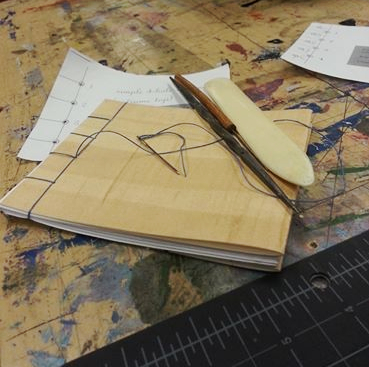
A few images of students sewing their books together in last night’s Stab Binding class:
And here’s a lovely finished book with tea-stained Rives BFK covers (photo courtesy Monica Rock):
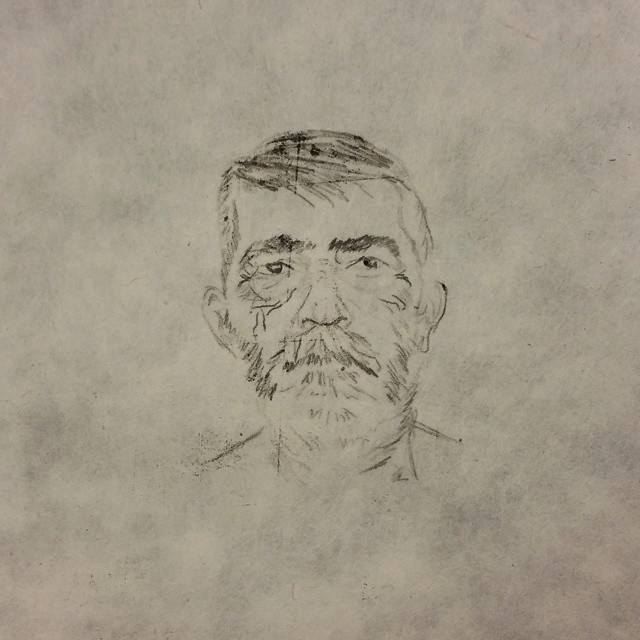
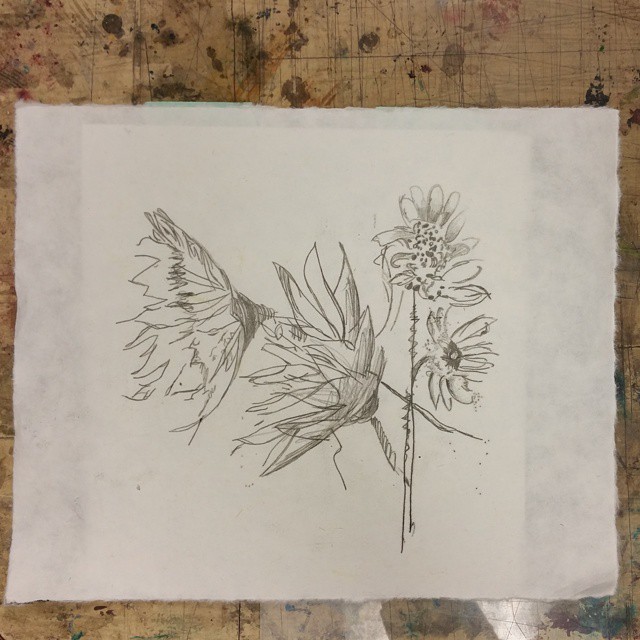
I made some samples today to show what can be done in the Trace Monotype class (April 6; details here: TRACE MONOTYPE).
This little bird, measuring 4 by 5 inches, took me about 45 minutes to draw. It’s on Japanese Kitakata paper that had previously been printed with a pale blue woodcut. The ink was stiffened with magnesium carbonate but you can see that it was still a little sticky, and so the bird is enveloped in a cloud of atmospheric smudginess.

I spent more time on these three children, from a scanned negative from my granddad’s collection, circa 1957. More mag carb was added to the ink to better control the cloudy quality. You can see that with the slightly stiffer ink it was possible to get a wider range of tone, for instance in the girl’s school jacket and the little boy’s shorts, where soft pressure conveys a dark tone to the fabric while harder pressure brings out the darker shadows in the folds.
In the original photo the children stood in front of a wild garden, which I edited down in order to frame them with just a hint of foliage. This print took about three hours to complete. It’s on Japanese Tokuatsu paper, which is the paper we’ll be using in the workshop.

These two student prints got their second colour, and the images are starting to take shape!

Both opted to skip red and go straight to blue for the second colour: a pale cobalt and white mix on the left, and a bolder cobalt on the right, both with a lot of transparent base to blend them with the yellow. By the end of class these blocks were all carved and ready for the third colour, which we’ll print at the beginning of next week’s class!