Reductive woodcut class: first day
On the first Monday night after opening the studio we dove right into an intensive three week course with reductive woodcut printing. Reductive colour work isn’t an easy concept for non-printmakers to wrap their heads around at first, but these students are quickly getting the hang of it. They carved out the white areas on their blocks and printed their first colour, yellow:
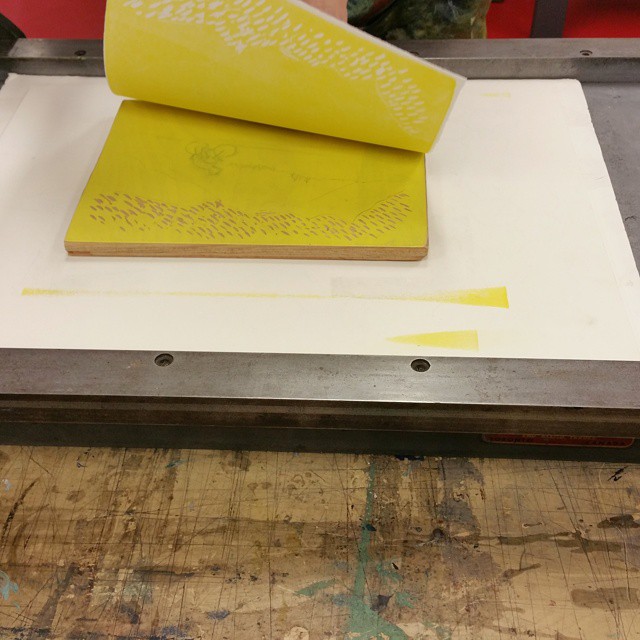
In a reductive relief print, you’re working backwards, starting with the lightest colour and gradually moving towards the darkest, carving out successive layers from a single block. You start by carving out only what you want to remain empty, or the colour of the paper, and print a light colour (yellow). Then you carve out everything you want to leave yellow, and print the next colour. And so on.
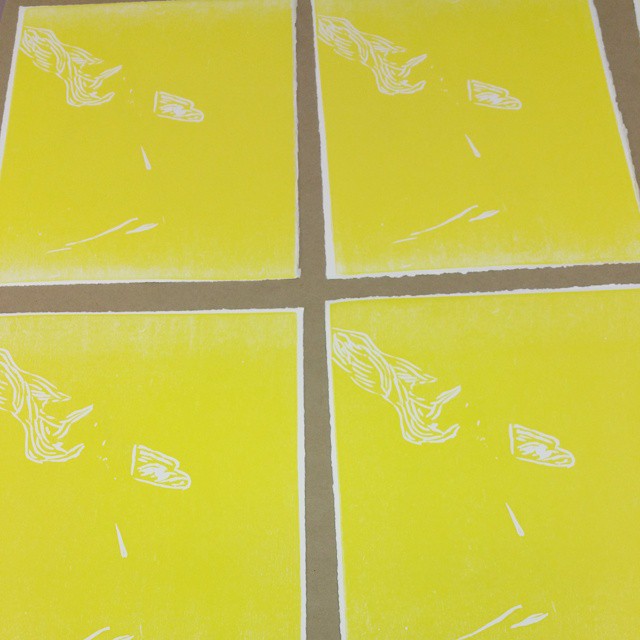
Here are some of the first prints, drying:
The next colour will probably require more carving than the first did, but now that they’re into a groove we’re going to shoot for carving and printing two colours next week. Stay tuned!
No comments