Trace monotypes!
Student prints from Monday night’s trace monotype class:
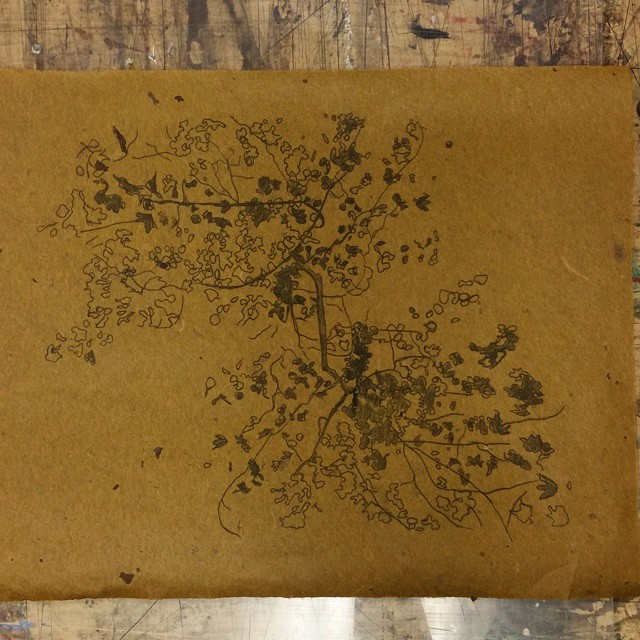
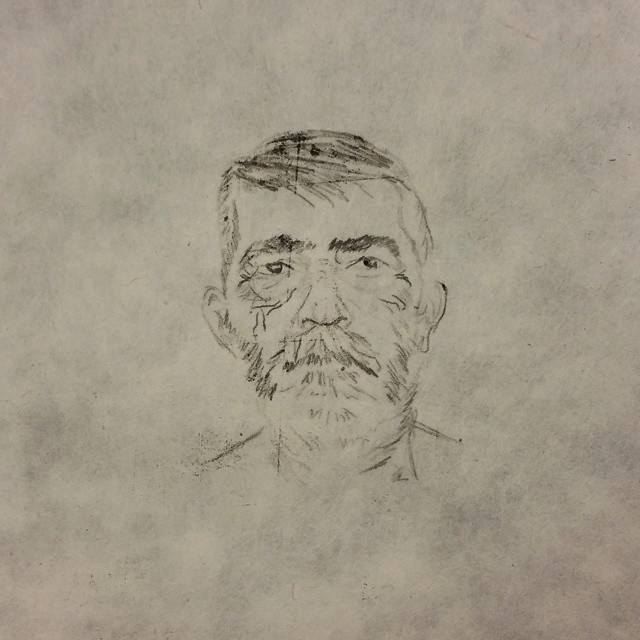
Student prints from Monday night’s trace monotype class:
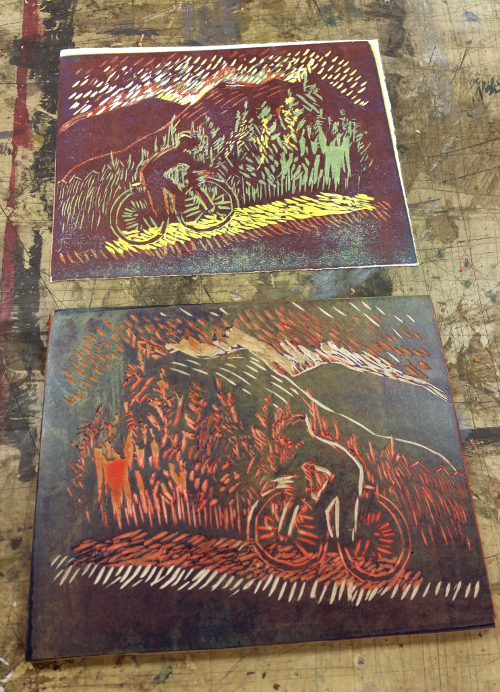
Two more colours carved and printed, and these student prints are all finished. And they look amazing!
Printing the third colour, an orange-leaning red:
Printing the final colour, a gorgeous deep blue:

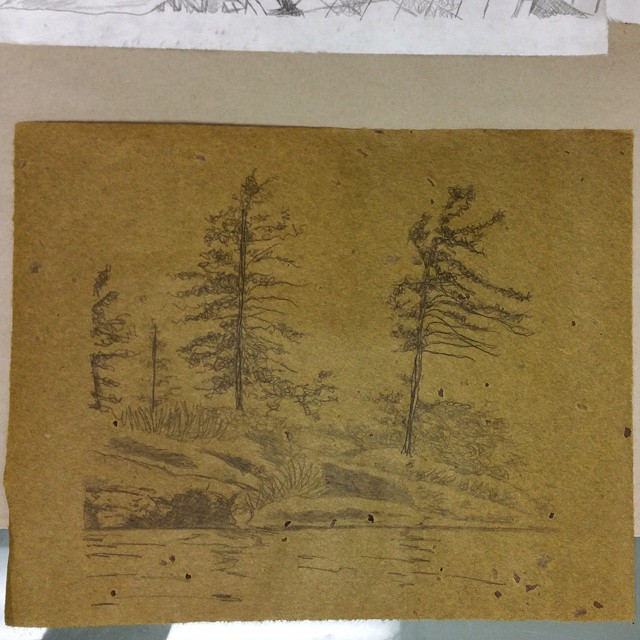
Final pull on the tree print:

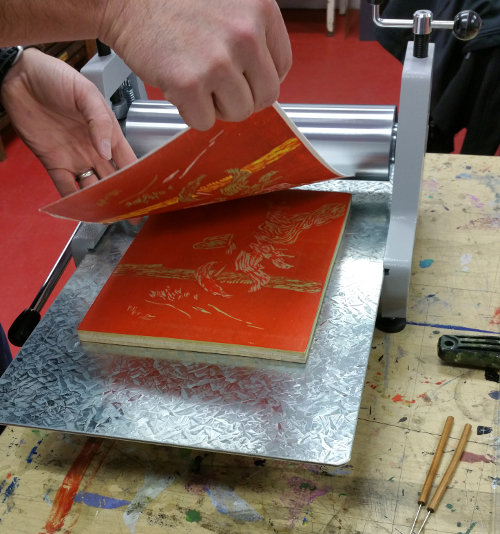
The cyclist print with its block:
Carving the first colour for a reductive woodcut:
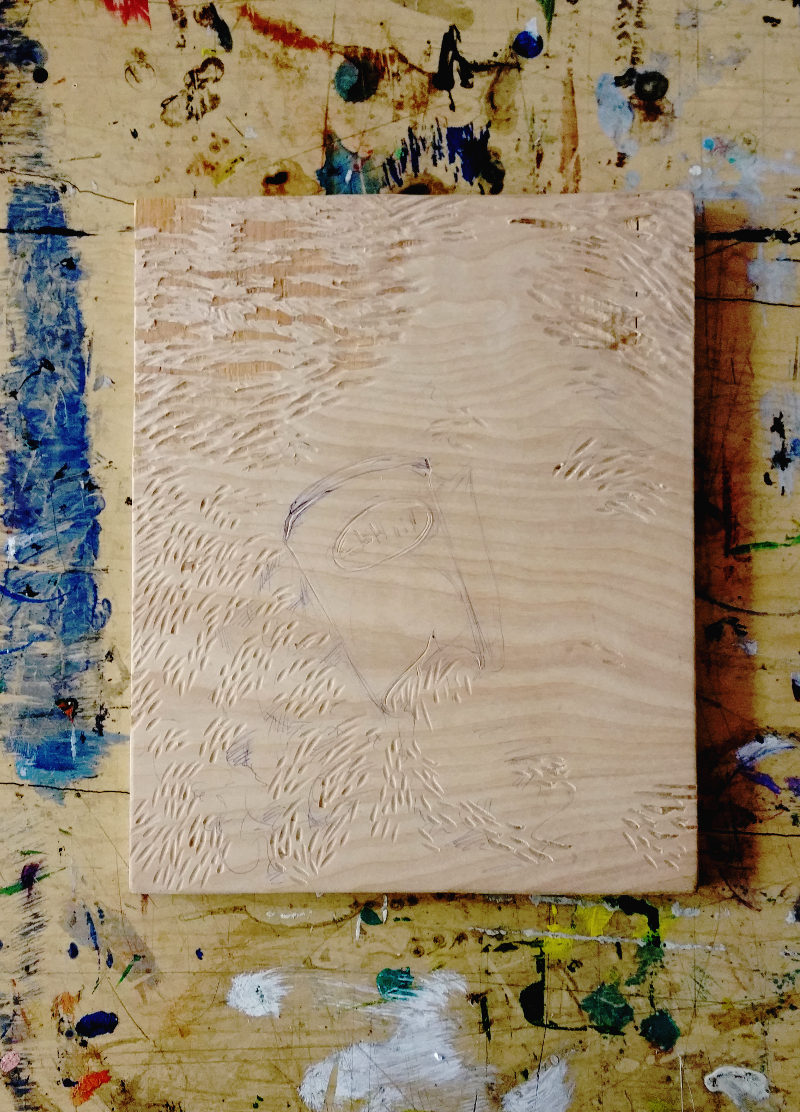
I realized while teaching the reductive woodcut class that I don’t have a sample printed in stages that I can show, which would help people grasp the concept of working in reductive layers. So I started this block with an image of a Tim Hortons cup abandoned in ploughed-up roadside snow. The parts that are carved out now are what will remain white in the final print.
The colour progress will probably be as follows:
-pale gray
-pale blue
-darker gray
-yellow (just in the cup and a few highlights on the snow)
-red
-brown
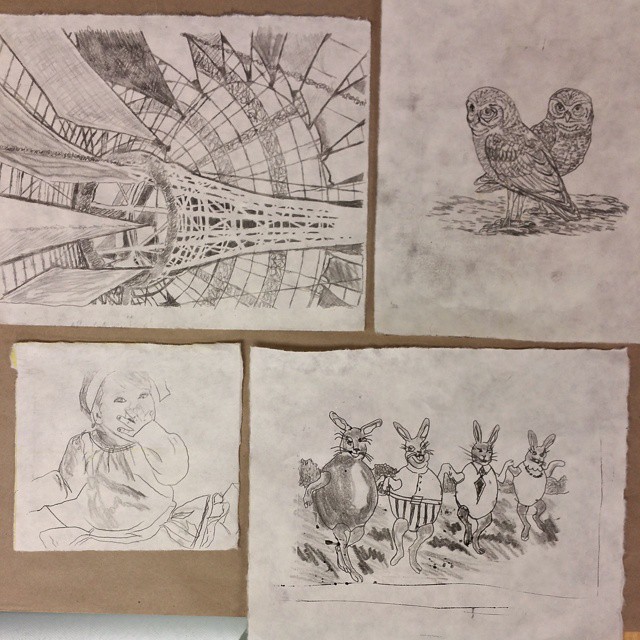
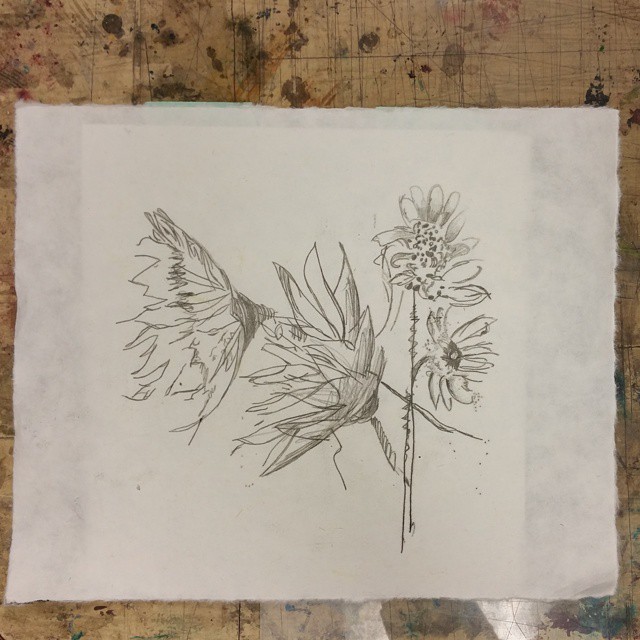
I made some samples today to show what can be done in the Trace Monotype class (April 6; details here: TRACE MONOTYPE).
This little bird, measuring 4 by 5 inches, took me about 45 minutes to draw. It’s on Japanese Kitakata paper that had previously been printed with a pale blue woodcut. The ink was stiffened with magnesium carbonate but you can see that it was still a little sticky, and so the bird is enveloped in a cloud of atmospheric smudginess.

I spent more time on these three children, from a scanned negative from my granddad’s collection, circa 1957. More mag carb was added to the ink to better control the cloudy quality. You can see that with the slightly stiffer ink it was possible to get a wider range of tone, for instance in the girl’s school jacket and the little boy’s shorts, where soft pressure conveys a dark tone to the fabric while harder pressure brings out the darker shadows in the folds.
In the original photo the children stood in front of a wild garden, which I edited down in order to frame them with just a hint of foliage. This print took about three hours to complete. It’s on Japanese Tokuatsu paper, which is the paper we’ll be using in the workshop.

These two student prints got their second colour, and the images are starting to take shape!

Both opted to skip red and go straight to blue for the second colour: a pale cobalt and white mix on the left, and a bolder cobalt on the right, both with a lot of transparent base to blend them with the yellow. By the end of class these blocks were all carved and ready for the third colour, which we’ll print at the beginning of next week’s class!
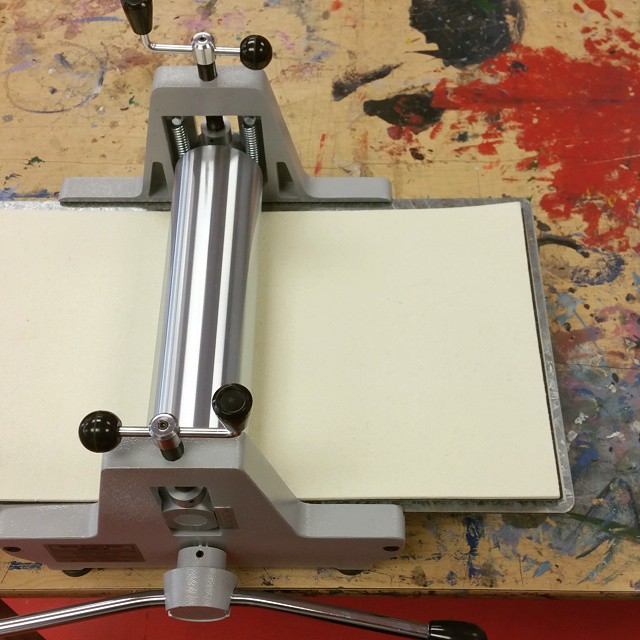
This wee etching press will tide us over for teaching classes and making small prints until we can get our issue sorted with the big press. It’s definitely an economy model, but it does the job, and we’ve used it in a class already. And it’s so easy to pick up and move around the studio!
On the first Monday night after opening the studio we dove right into an intensive three week course with reductive woodcut printing. Reductive colour work isn’t an easy concept for non-printmakers to wrap their heads around at first, but these students are quickly getting the hang of it. They carved out the white areas on their blocks and printed their first colour, yellow:
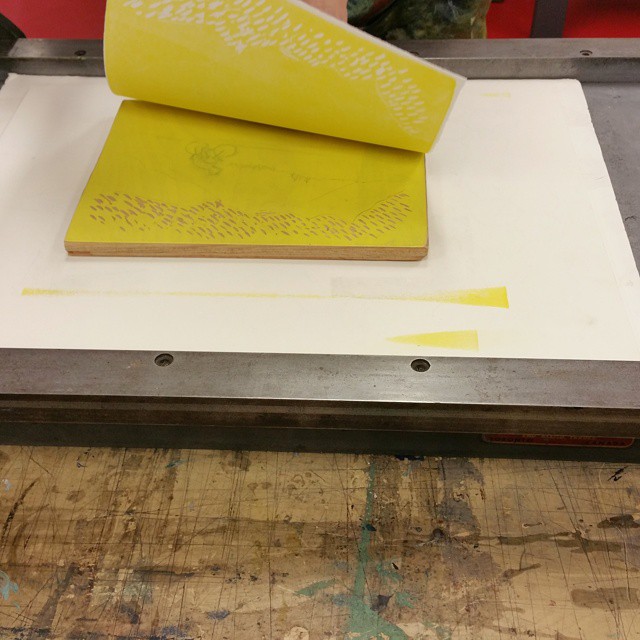
In a reductive relief print, you’re working backwards, starting with the lightest colour and gradually moving towards the darkest, carving out successive layers from a single block. You start by carving out only what you want to remain empty, or the colour of the paper, and print a light colour (yellow). Then you carve out everything you want to leave yellow, and print the next colour. And so on.
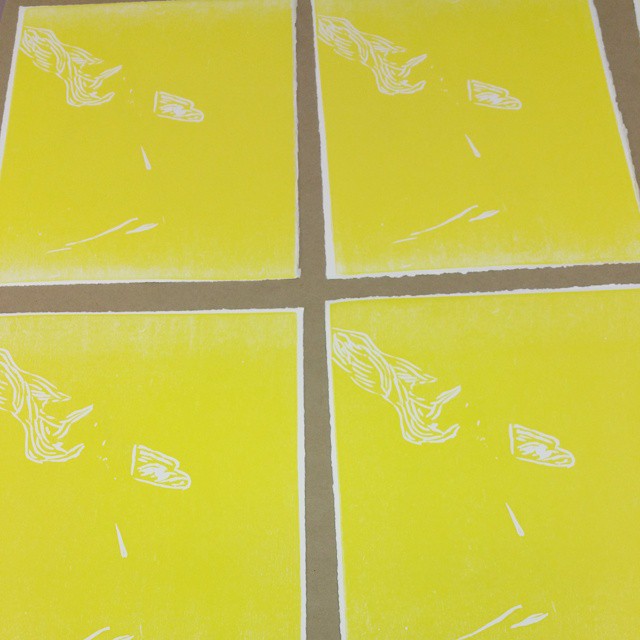
Here are some of the first prints, drying:
The next colour will probably require more carving than the first did, but now that they’re into a groove we’re going to shoot for carving and printing two colours next week. Stay tuned!

Alois Senefelder, born November 6, 1771, playwright, actor, connoisseur of girls, inventor of lithography. My pretend boyfriend.
Listen to a podcast about Senefelder and his achievements here: Engines of Our Ingenuity no. 791: Senefelder and Lithography
Read his book here: Alois Senefelder, The Invention of Lithography, at Project Gutenberg
cross posted from my personal weblog
Levigator Press will once again be taking part in the FAM Fest fashion show, coming this Friday October 10 at 9pm. It takes place in the same location as last year, Venue Music Hall on Ouellette Street in Windsor.
CLICK HERE for information about FAM Fest
CLICK HERE to join the Facebook event
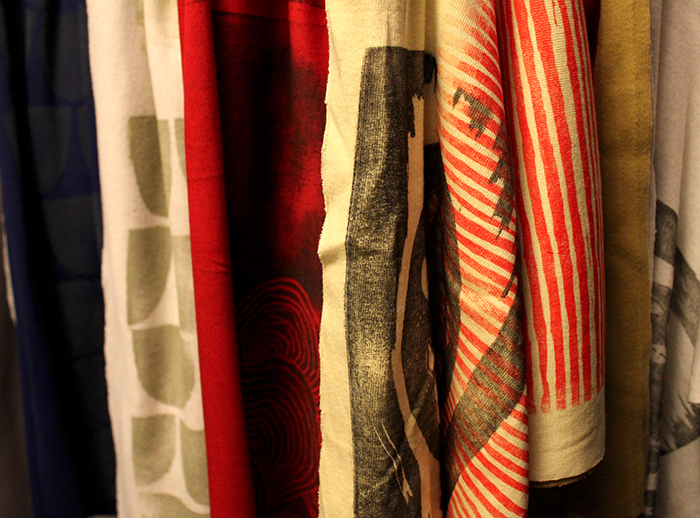
I’m hard at work in the studio preparing for the event: printing fabric, sewing dresses, knitting accessories, and preparing a few new surprises. Here’s a little peek of the printing that happened in the studio earlier this week, fabrics for skirts and dresses, and block printed t-shirts:

Printing some new fabrics for cooler-weather scarves and cowls.